Unpicking: I had to unpick an entire binding on a quilt because I simply didn't notice that my needle position was in the middle rather than the far right (necessary because of my walking foot). Accordingly, my seam widths was such that I could not wrap the binding to front to save my life. I left it that way for a few weeks--hoping it would miraculously heal itself. It did not. Yesterday I tackled it.
My favorite unpicking tool is my Havel seam ripper. It plus whatever entertainment I have on my portable TV monitor + Fire Stick makes short work out of long, arduous tasks. I ripped out the binding, tossed it because it was not usable; made new binding; sewed it on. I now have 8 Sparkle Magic Shine quilts for the New Kent Christmas Mother program this year. These will be perfect for 0-3 year olds girls.
Enjoying quilt made for self. The quilt I finished for myself is something that I'm really enjoying using. I'm reminded that no one is ever going to see that your points are not perfect once the quilt is washed. For this quilt, I put a 108" quilt backing in a dark grey print and bound with same. (below is just the quilt top. )


One Block Wonder: As my quilt blocks were so unique, I elected to put them in a hexagon star quilt. This was my first time sewing this block. I'm confident that my piecing was accurate, but I may have had a different strip measurement on one of the rows which made some of my hexagons about 1/4" (and a fat measurement at that).
When I put the rows together, my points are pretty far out on several blocks due to the "trimming" I had to do which messes up where "stuff" will line up when piecing rows together. I think that I'm going to keep this quilt for myself. I have enough material to make another.
On this quilt, I had planned to lay out the blocks in vertical straight rows with sashing. I could have dealt with the wonkiness better this way. As such, I put a triangle in each of the corners to straighten out the block. Here's what it looks like on my wall...actually, the photo does not make it look so bad!
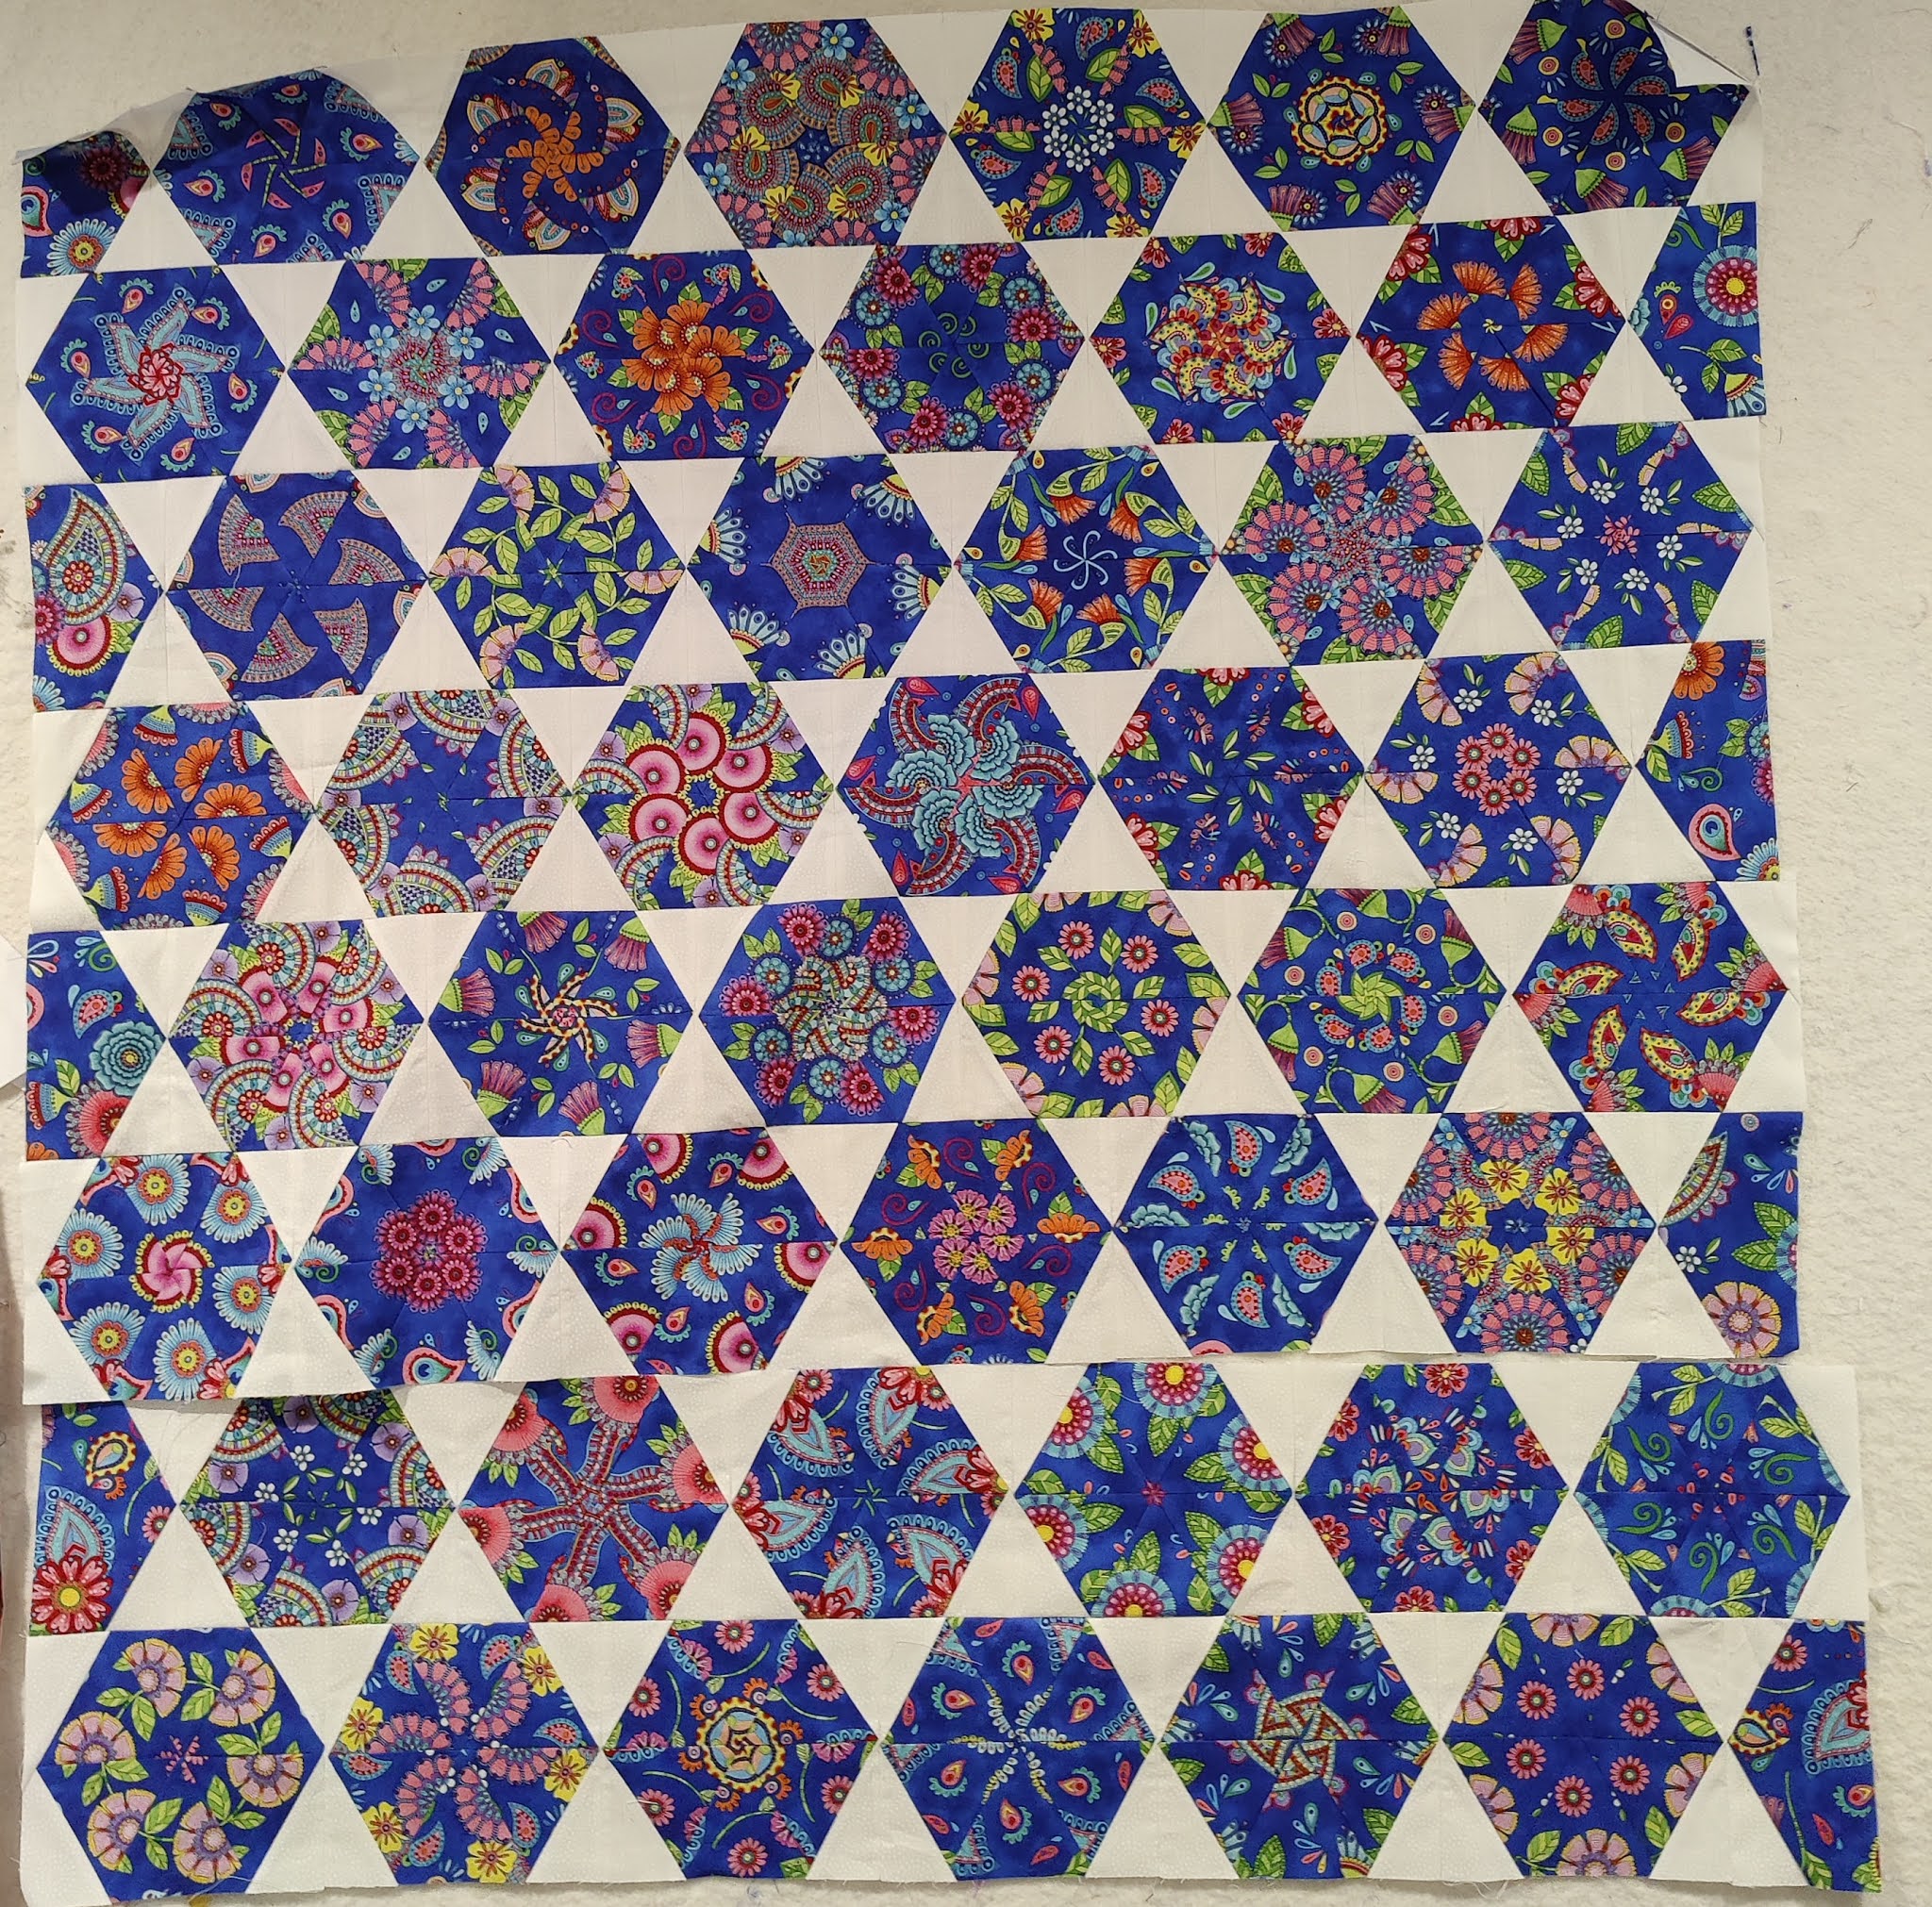
But the zoom knows....

Gasp! The quilt police would certainly issue a citation if not haul me in! Now, this quilt top would be perfectly beautiful and serviceable. But my goal is to be a little more in the neighborhood. There just wasn't any fix available to me at this point. While the above is out of whack, further down the road is not.
Had I made an earlier commitment to this layout, I would have put full triangles vs the corner 1/2 triangles. One thing about undertaking new things, you don't know what you don't know! Each of the blocks are fun and unique. True, some of the patterns hare a wee bit out, but nothing that none but the pickiest would notice. I would use my dental floss method again. Further, as it is a textile, you cannot control the printing. For any who have made home decor stuff, half the trouble is straightening out the print so that your curtains lay straight on grain. A carpenter's square still is a tool I have near my machine.
When I made this, I took my yardage and tore in it half lengthwise. So I have enough to make another pass, and I think that I will. Also as I have a hexagon rule now, I can more effectively trim my blocks.
Here's a closeup of some of my blocks--they are magical, whimsical and surprising...no one block is the same as any other. I cannot even choose a favorite.


0 comments:
Post a Comment